How to take a screenshot
(PrintScreen) in Windows 11
Learn how to take a screenshot, full or part screen & paste
into Word, Paint or Paint 3D.
The easiest way to take a screenshot in Windows 11
The easiest way to take a screenshot is to use the "Print Screen" or "PrtScn" key on your keyboard.
To take a screenshot on your PC or laptop you are going to need to identify the "Print Screen" or "PrtScn" key. This is usually located towards the top right of the keyboard either its own key or on one of the F keys.
For example; on my Dell desktop keyboard i can see Print Screen in blue on the insert key (see image below) if we look toward the bottom left of the same keyboard we can also see that the Fn key is also blue. This is telling us that to use the Print Screen key we need to hold down the Fn key before pressing the Print Screen key. (Hold Fn + Print Screen)

On other keyboards, like my Microsoft Surface laptop for example I can see the PrtScn key on its own individual key. This tells us that we can use the Print Screen key without the need to hold any other keys for it to work.
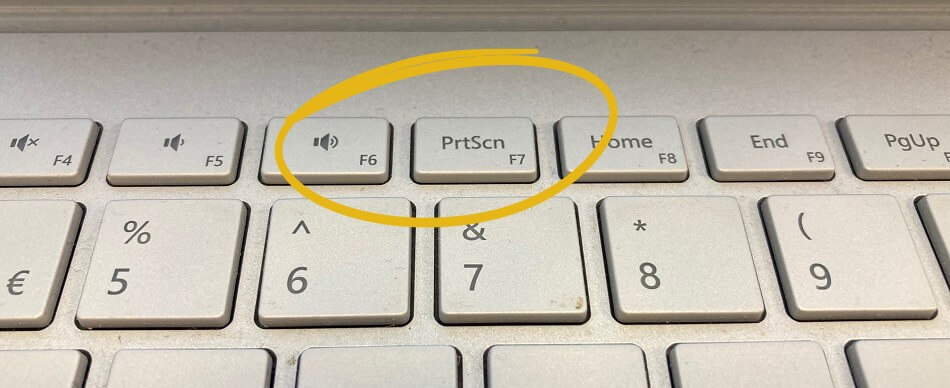
Depending on your keyboard there can be a few different combinations of keys to make Print Screen work. If you are still struggling to take a screenshot try (Windows logo key + PrtScn) or (Alt + PrtScn).
Pasting or finding your screenshots in Windows 11
Once you have figured out the correct key combination you need to
know what to do with your screenshots. Essentially you can paste
your screenshots into any program that will accept them, most commonly
you'll probably want to paste into either Word, Paint or Paint 3D
but any of the office suite of programs will accept pasting screenshots
(Word, Excel, PowerPoint).
Use Keyboard combination CTRL+V to paste your screenshot into Paint, Paint 3D, Word, Excel & PowerPoint

Screenshot tools at your disposal (Snipping tool & Snip & Sketch)
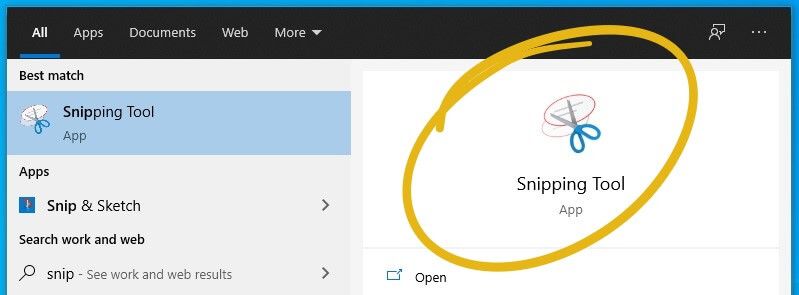
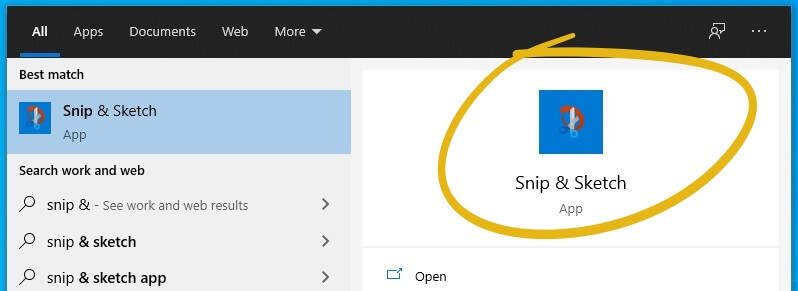
Using keyboard shortcuts isn't the only way to take screenshots. Already installed on your Windows 11, 10, or 7 system you can find Snip & Sketch & Snipping Tool. (Both can easily be found by searching "snip" in the Windows search bar).
Snipping Tool → Once launched just click New in the top left, your screen with grey out and you can select the space you want to select. Use Mode to select either free-form snip, rectangular snip, windows snip or full-screen snip. Once your snip (screenshot) is selected it will immediately open and give you the option to save as. (Dont get too used to using the snipping tool as it will be defunct in the future).
Snip & Sketch → The snip & sketch tool works in much the same way the older snipping tool does. Once launched you can click on new in the top left, your screen will grey out and from the menu bar at the top of the screen, your can select your desired shape, free form or rectangular. Once you take your snip (screenshot) you get far more options than snipping tool. This is great if you have a touch screen with pen.
See how its done:
From the short video below you'll see me on my new Windows 11 laptop and I want to take a screenshot of a stock chart. I'm going to open my portfolio online then launch the snipping tool, I'll select the chart I want, make some markups and save it to my desktop ready to send later.
Quick ScreenShot on Microsoft Surface (Windows 11)
To quickly take a screenshot of your full screen on a Microsoft
Surface device you can use the Power + Volume Up buttons. Just as you
might do on a phone, on your surface device press at the same time the
Power and Volume Up buttons. You'll notice when you do this the screen
dims slightly for just a second. Screenshots taken in this way are
saved into the following location:
C:\Users\%username%\
Pictures\Screenshots
gorazy.com open internet promise...
We believe in a free and open internet. Our users are never and will never be tracked! You will never see pointless annoying pop-ups or be asked to allow notifications. If you like the sound of an internet more like this share the message.